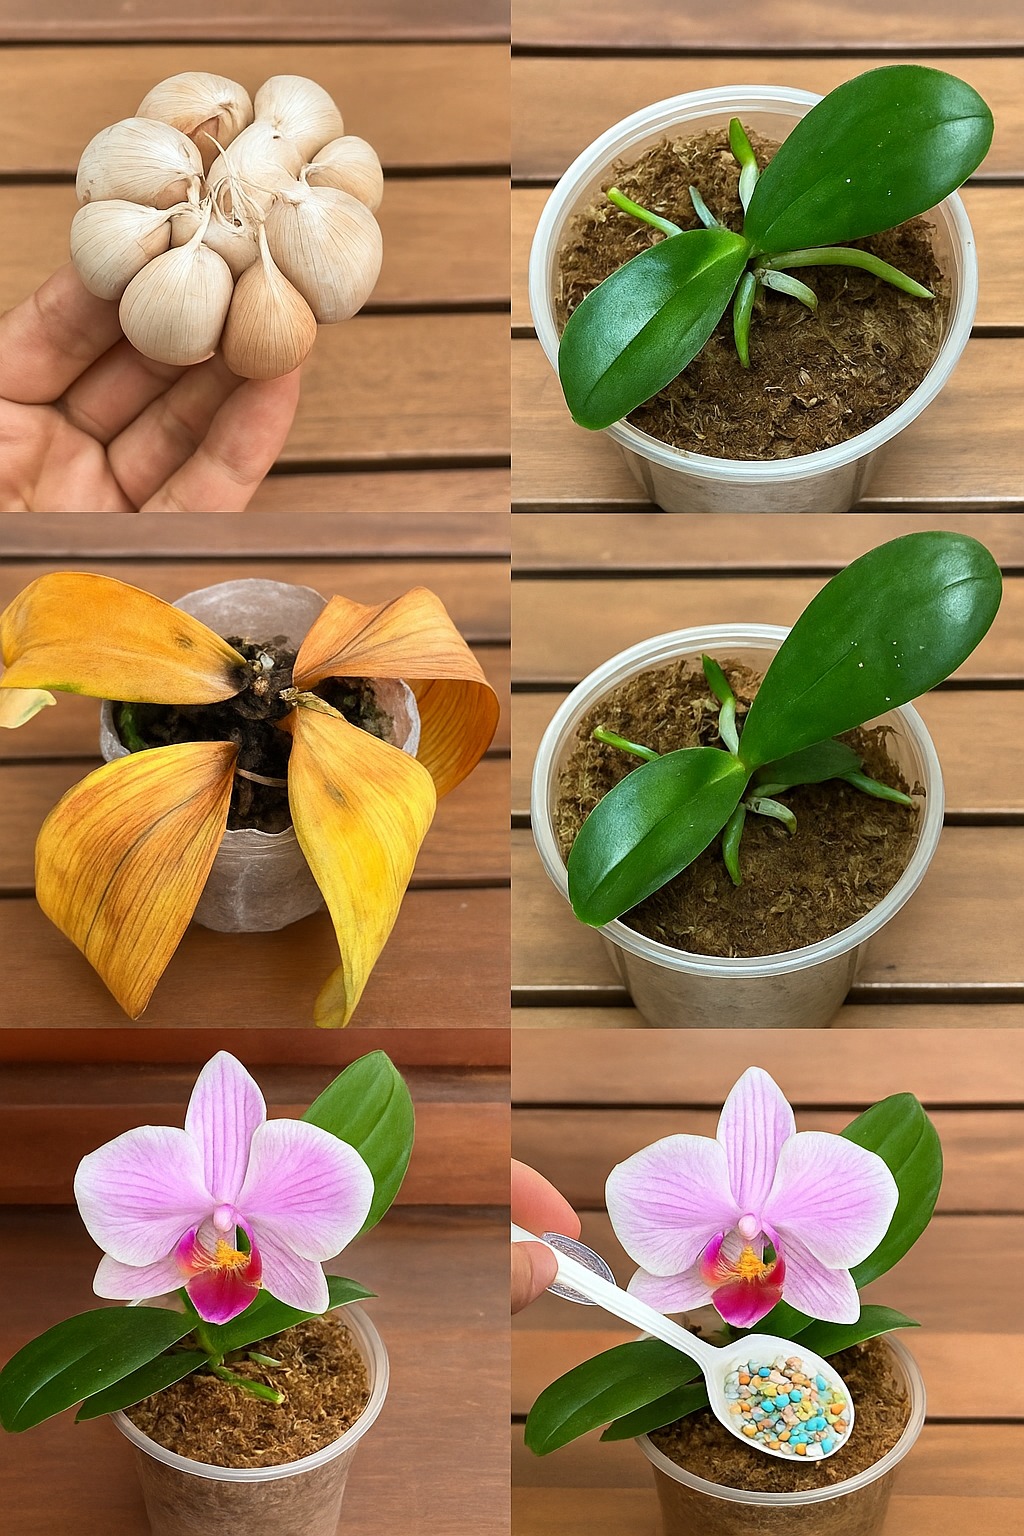
Step 3: Soaking the Orchid Roots
After filtering out the garlic pieces, submerge the orchid roots in the garlic water for about 25 minutes. This process will help eliminate harmful bacteria and fungi, reducing the risk of further infection. After soaking, remove the plant and allow it to air dry completely before repotting.
Step 4: Preparing the Growing Medium
To further enhance the chances of successful recovery, disinfect the growing medium as well. Soak sphagnum moss in the garlic water for 15 minutes to eliminate any potential pathogens. This step ensures that your orchid will be placed in a clean, healthy environment.
Step 5: Repotting the Orchid
For repotting, use two plastic cups with holes drilled at the top for airflow. Start by adding a layer of small pebbles at the bottom to improve drainage. Then, place the orchid in the pot and fill it with the disinfected sphagnum moss. The moss will help retain moisture while providing sufficient aeration.
Keep the plant in a cool, dry place with indirect sunlight. Water only when the growing medium becomes dry to the touch. Overwatering can cause the rot to return, so it is crucial to maintain a balance.
Step 6: Covering and Maintaining Humidity
To aid in moisture retention and maintain humidity, cover the plant with a loose plastic cover. This technique helps create a mini greenhouse effect, promoting root growth. However, ensure that the covering has proper ventilation to prevent mold buildup.